Trezor.io/start – A Complete Guide to Securely Setting Up Your Trezor Hardware Wallet
With the growing use of cryptocurrency, protecting digital assets has become a top priority. Unlike exchanges or software wallets, hardware wallets offer the highest level of security by storing private keys offline. Trezor is one of the most trusted hardware wallet providers, and Trezor.io/start is the official setup portal designed to help users initialize their devices safely. This guide walks you through every stage of the setup process so you can store, manage, and protect your crypto with confidence.
What Is Trezor.io/start?
Trezor.io/start is the official onboarding page for Trezor hardware wallets. It provides step-by-step instructions that guide users through:
Initializing a new Trezor device
Downloading the official Trezor Suite application
Creating a secure PIN
Generating and backing up a recovery seed
Managing cryptocurrencies safely
Using the official Trezor.io/start page ensures your wallet setup is genuine and protected from scams or malicious software.
Why Choose a Trezor Hardware Wallet?
Trezor hardware wallets are designed to keep your private keys offline, protecting them from online threats such as malware, phishing attacks, and hacking attempts.
Key benefits of using Trezor include:
Cold storage security – Private keys never leave the device
Open-source technology – Transparent and community-reviewed
Wide crypto support – Bitcoin, Ethereum, Litecoin, and many more
On-device confirmation – Every transaction requires physical approval
Regular firmware updates – Ongoing protection against vulnerabilities
These features make Trezor suitable for both beginners and experienced crypto users.
Step 1: Visit Trezor.io/start Safely
To begin setup, open a trusted web browser and type Trezor.io/start directly into the address bar. Avoid clicking links from emails or advertisements, as scammers often impersonate hardware wallet websites.
The official Trezor.io/start page ensures you receive accurate setup instructions and authentic downloads.
Step 2: Select Your Trezor Device Model
Once on Trezor.io/start, choose the device you are setting up:
Trezor Model T – Touchscreen device with advanced features
Trezor One – Simple, compact, and beginner-friendly
Selecting the correct model ensures that the setup steps match your specific hardware.
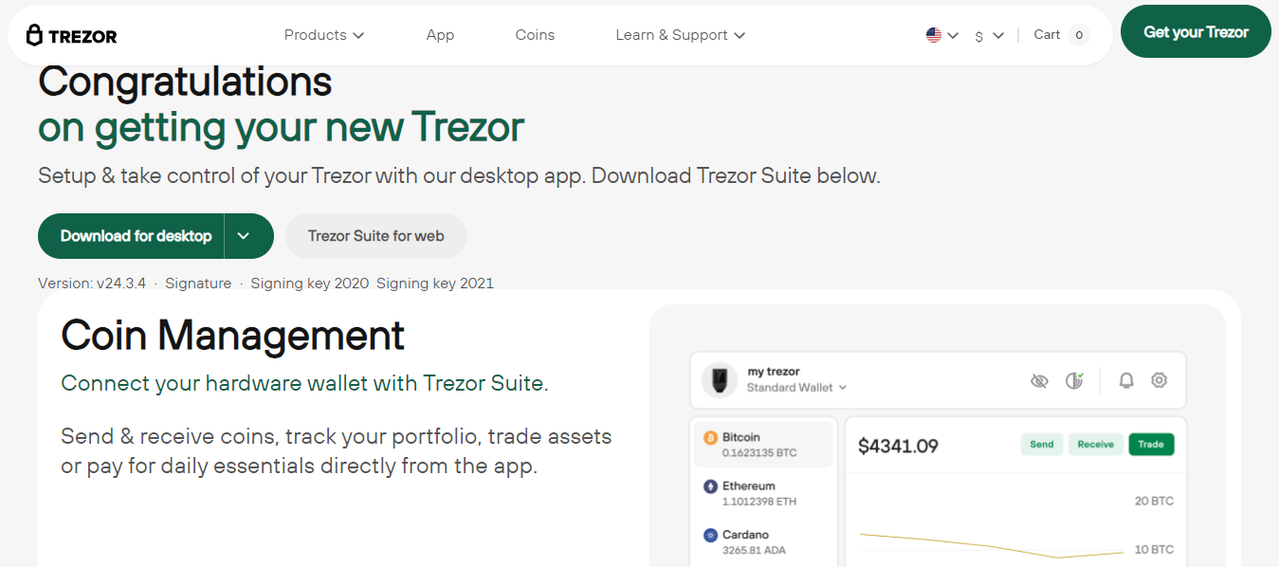
Step 3: Download and Install Trezor Suite
Trezor Suite is the official application used to manage your crypto assets. It allows you to send, receive, and track cryptocurrencies while your private keys remain secure on the device.
Trezor Suite is available for:
Windows
macOS
Linux
Android
Important: Always download Trezor Suite directly from Trezor.io/start to avoid counterfeit software.
Step 4: Connect and Initialize Your Trezor Device
After installing Trezor Suite:
Connect your Trezor device to your computer using a USB cable
Open Trezor Suite
Select “Create new wallet”
Set a strong PIN code
The PIN protects your device from unauthorized physical access. Each incorrect PIN attempt increases the waiting time, making attacks extremely difficult.
Step 5: Generate and Secure Your Recovery Seed
During setup, your Trezor device will generate a recovery seed made up of 12, 18, or 24 words. This recovery seed is the only way to restore your wallet if your device is lost, stolen, or damaged.
Recovery seed best practices:
Write the words down on the provided recovery card
Never store the seed digitally or online
Never share it with anyone
Trezor will never ask for your recovery seed
Protecting this seed is the most critical part of your wallet’s security.
Step 6: Verify Your Recovery Seed
Trezor.io/start guides you through verifying your recovery seed directly on the device. This step ensures your backup is correct and readable.
Skipping verification may result in permanent loss of access to your funds if recovery is ever required.
Step 7: Add Cryptocurrency Accounts in Trezor Suite
Once setup is complete, you can begin managing your assets using Trezor Suite. The application allows you to:
Add accounts for supported cryptocurrencies
View balances and transaction history
Send and receive crypto securely
All transactions must be confirmed on the Trezor device, ensuring full control over your funds.
Essential Security Tips After Setup
Setting up your wallet is only the first step. Long-term security depends on good habits.
Recommended practices include:
Store your recovery seed in a secure offline location
Keep your Trezor firmware and Trezor Suite updated
Verify transaction details on the device screen
Avoid suspicious emails, fake websites, or unknown downloads
Following these steps helps protect your assets over time.
Common Setup Issues and Solutions
Some users may encounter minor setup issues:
Device not recognized: Try a different USB cable or port
PIN locked: Restore the wallet using your recovery seed
Software errors: Reinstall Trezor Suite from the official site
Trezor.io/start provides official support links for safe troubleshooting.
Why Trezor.io/start Is the Official and Safest Option
Trezor.io/start is the only recommended source for setting up a Trezor wallet. It guarantees:
Authentic Trezor Suite downloads
Accurate and updated setup instructions
Trusted security guidance
Always verify the website address before proceeding with setup.
Final Thoughts on Trezor.io/start
Trezor.io/start is your entry point to secure cryptocurrency ownership. By following the official setup process:
Your wallet is properly initialized
Your recovery seed is safely backed up
You retain full control over your digital assets
Whether you are new to crypto or managing a large portfolio, Trezor.io/start provides the security and confidence needed to protect your investments.