Trezor.io/start – The Complete Beginner’s Guide to Safely Setting Up Your Trezor Wallet
Introduction to Trezor.io/start
Trezor.io/start is the official setup gateway for initializing a Trezor hardware wallet securely. It provides verified instructions and authentic software downloads that help users protect their cryptocurrency from online threats. As digital assets become more valuable, ensuring proper wallet setup is critical, and starting from the official Trezor portal eliminates unnecessary risks.
This guide explains how Trezor.io/start works, why it matters, and how to use it correctly to safeguard your crypto assets from the very beginning.
What Makes Trezor Wallets Secure
Trezor hardware wallets store private keys offline, which is known as cold storage. This security model prevents hackers, malware, and phishing attacks from accessing your funds. Unlike online wallets, Trezor never exposes private keys to the internet.
With a Trezor wallet, users maintain full ownership and control of their assets without relying on centralized platforms.
Why You Should Always Start at Trezor.io/start
Using the official setup page is essential for security. Fake websites and scam software often imitate Trezor branding to trick users into revealing recovery phrases.
Benefits of using Trezor.io/start include:
Guaranteed access to genuine Trezor software
Official firmware installation
Step-by-step verified setup instructions
Protection against phishing attacks
Starting anywhere else increases the risk of irreversible asset loss.
Supported Trezor Hardware Wallets
Trezor.io/start supports all current Trezor devices, including:
Trezor Model T – premium model with touchscreen interface
Trezor One – compact, affordable, and beginner-friendly
Limited edition models – identical security architecture
All devices follow the same core security principles.
Things to Prepare Before Setup
Before beginning the setup process, make sure you have:
A new, untampered Trezor device
USB or USB-C cable
Computer or smartphone with internet access
A private, distraction-free environment
Pen and paper for recovery seed backup
Important: Never store recovery phrases digitally or in cloud storage.
Step 1: Open Trezor.io/start
Manually type Trezor.io/start into your browser. This ensures you are accessing the legitimate website and not a malicious imitation. The page will guide you to download Trezor Suite and select your wallet model.
Avoid links from emails, pop-ups, or advertisements.
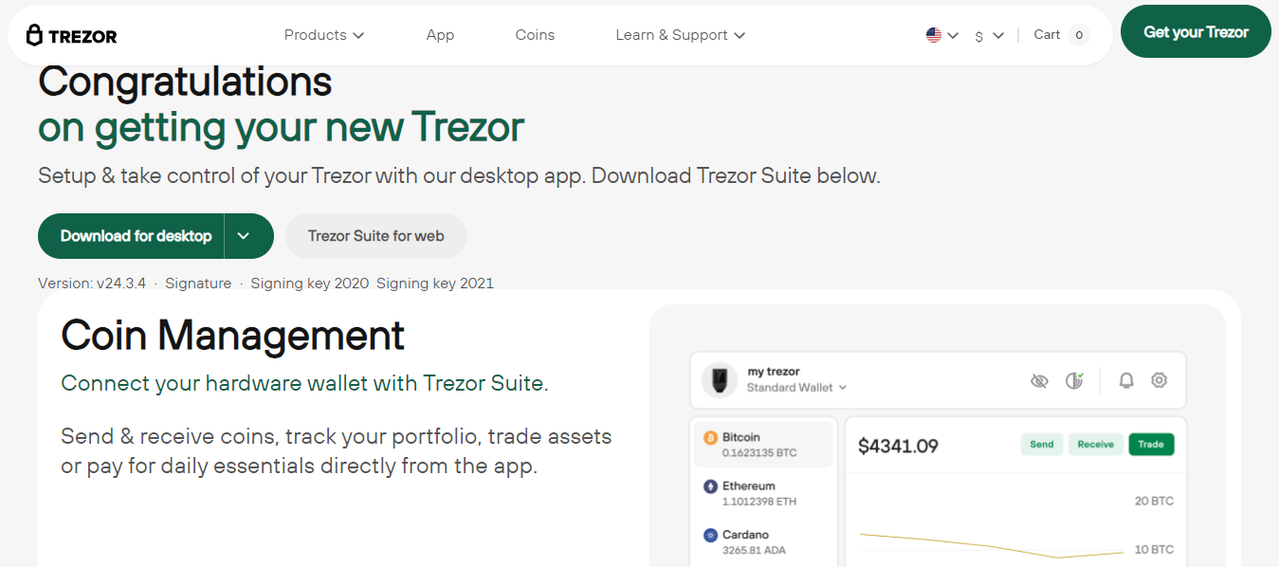
Step 2: Download Trezor Suite
Trezor Suite is the official application used to manage your wallet. It allows you to:
View balances and portfolio performance
Send and receive cryptocurrency securely
Install firmware updates
Manage multiple assets in one interface
Always download Trezor Suite directly from the official site.
Step 3: Connect and Initialize Your Device
Connect your Trezor wallet using the supplied cable. Trezor Suite will automatically detect the device and guide you through initialization. New devices must be set up from scratch to ensure authenticity and security.
Never use a device that arrives preconfigured.
Step 4: Install Official Firmware
If your device does not have firmware installed, Trezor Suite will prompt you to install it. Firmware ensures your device operates with the latest security features.
Only install firmware through Trezor Suite to avoid malicious code.
Step 5: Create a Strong PIN Code
A PIN code protects your wallet from unauthorized physical access. Each time the device is connected, the PIN must be entered.
PIN Security Tips:
Avoid obvious number combinations
Do not reuse existing PINs
Never share your PIN with anyone
Multiple incorrect PIN attempts will reset the device for security reasons.
Step 6: Write Down Your Recovery Seed
The recovery seed (12 or 24 words) is the most critical component of your wallet. It allows you to restore your assets if your device is lost or damaged.
Safe Storage Tips:
Write the words clearly in correct order
Store the backup offline in a secure location
Consider using a metal backup solution
Never share or enter the seed online
Trezor will never request your recovery seed.
Step 7: Verify the Recovery Seed
To ensure accuracy, the device will ask you to confirm selected words from your recovery seed. This step verifies that your backup is correct and usable.
Skipping verification increases the risk of permanent asset loss.
Managing Crypto with Trezor Suite
Once setup is complete, you can manage cryptocurrencies through Trezor Suite. The wallet supports thousands of coins and tokens.
You can:
Monitor balances and transactions
Send and receive crypto securely
Manage tokens and NFTs
Connect to DeFi platforms
All sensitive actions require confirmation on the device itself.
Best Practices for Long-Term Security
To keep your wallet secure over time:
Update Trezor Suite and firmware regularly
Verify transaction details on the device screen
Ignore emails claiming to be Trezor support
Never enter recovery seeds on websites
Security awareness is essential for asset protection.
Common Errors to Avoid
Many users lose funds due to avoidable mistakes, such as:
Purchasing used or preconfigured wallets
Storing recovery phrases digitally
Downloading unofficial software
Falling for phishing scams
Following Trezor.io/start helps prevent these issues.
Who Should Use Trezor.io/start
Trezor.io/start is ideal for:
Cryptocurrency beginners
Long-term investors
NFT collectors
DeFi and Web3 users
Anyone who values self-custody
If security and ownership matter, Trezor is a reliable choice.
Conclusion
Trezor.io/start is the safest and most reliable way to begin using a Trezor hardware wallet. By following the official setup steps, creating a strong PIN, and securely storing your recovery seed, you take full control of your digital assets. Trezor combines advanced security with ease of use, making it a trusted solution for protecting cryptocurrency.
Starting at Trezor.io/start ensures your crypto journey begins securely and confidently.